
Set it up once
Check three things first, then follow the steps. Time to install: about 60 minutes
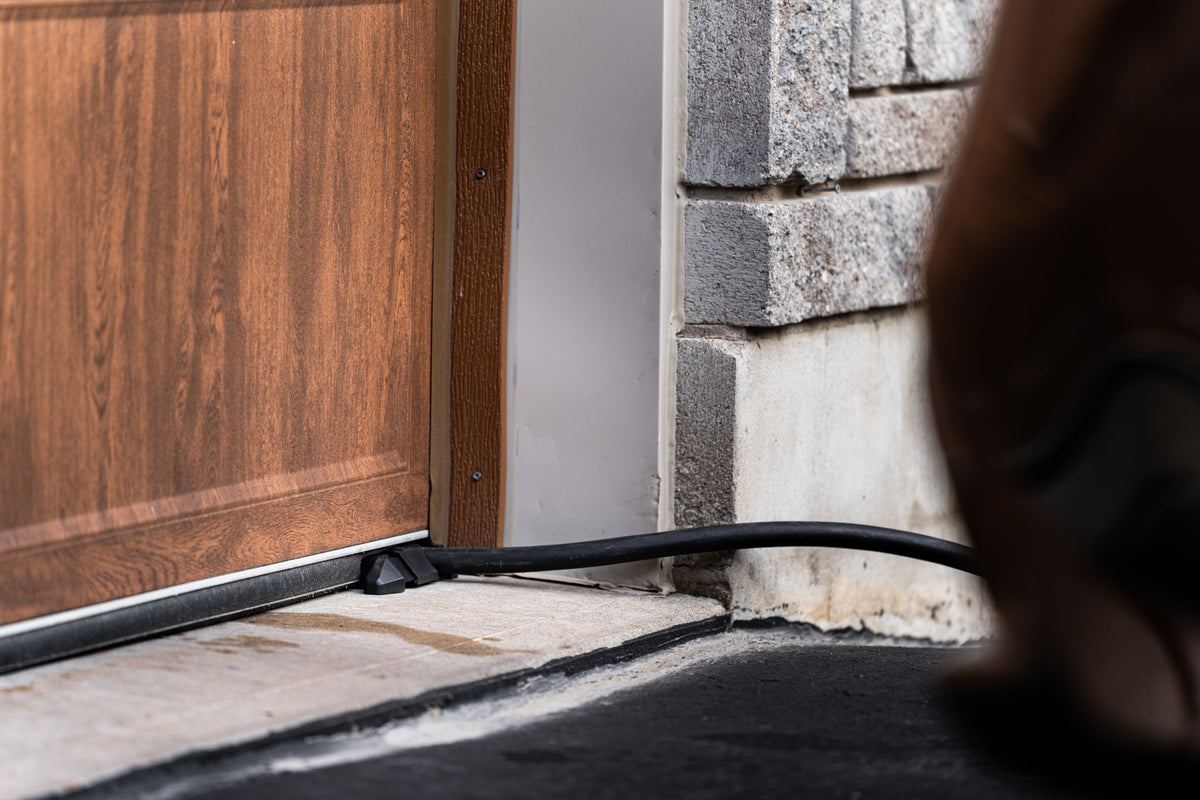
- A bottom seal 4 in wide or wider. Required for a gap-free install. We don't sell seals: find one at a retailer or a local garage door company. Garage door seals
- A level floor. The door must close onto it.
- A cable up to 0.9 in across. Most level 2 charging cables fit great!
Four steps
DIY friendly installation broken down into 4 steps. Our written and video instructions go into more detail.
-
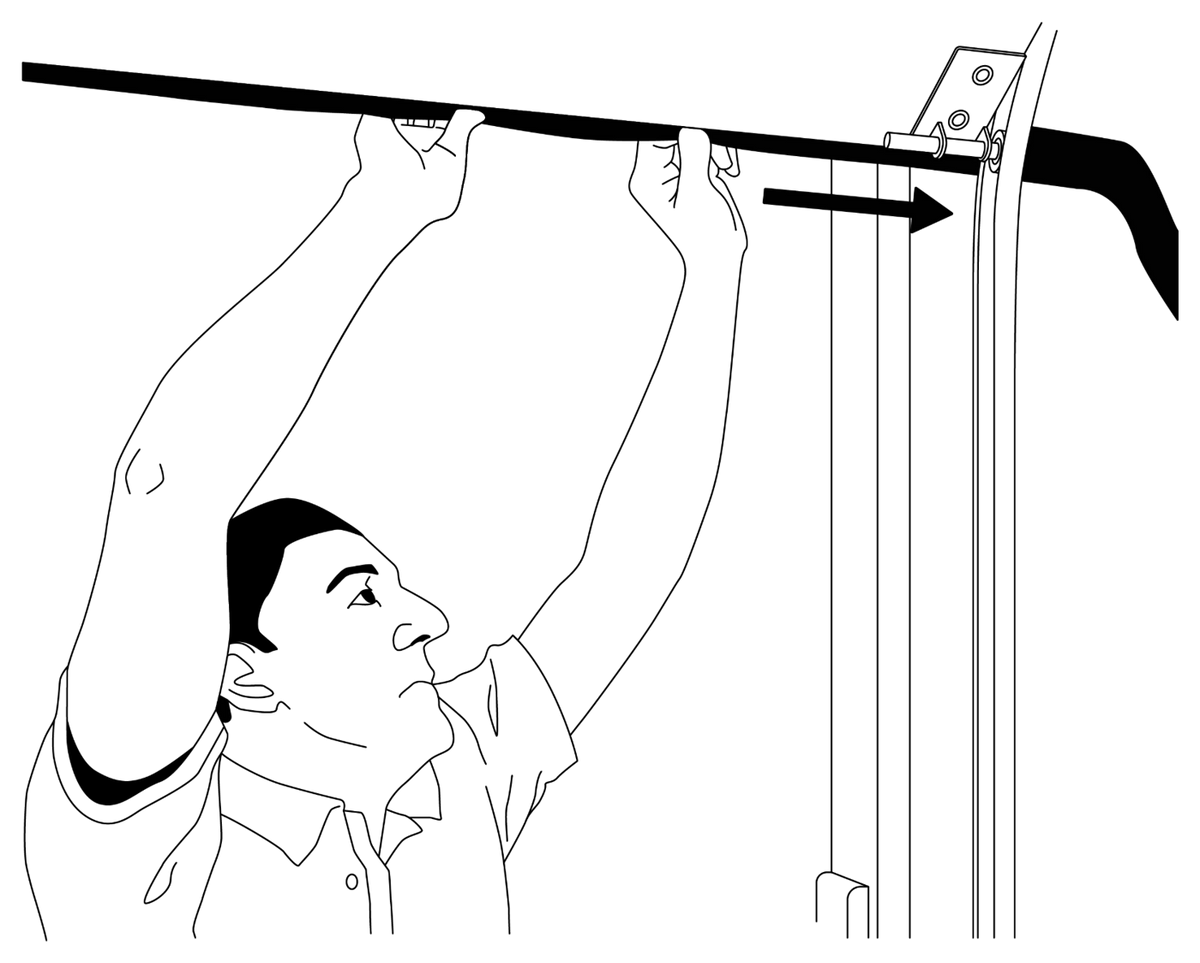
Fit a new 4″ seal
Slide out the old bottom seal and slide in a new one 4″ wide. It fills the 1 inch gap Pro Protect creates. Two people make this easier.
-
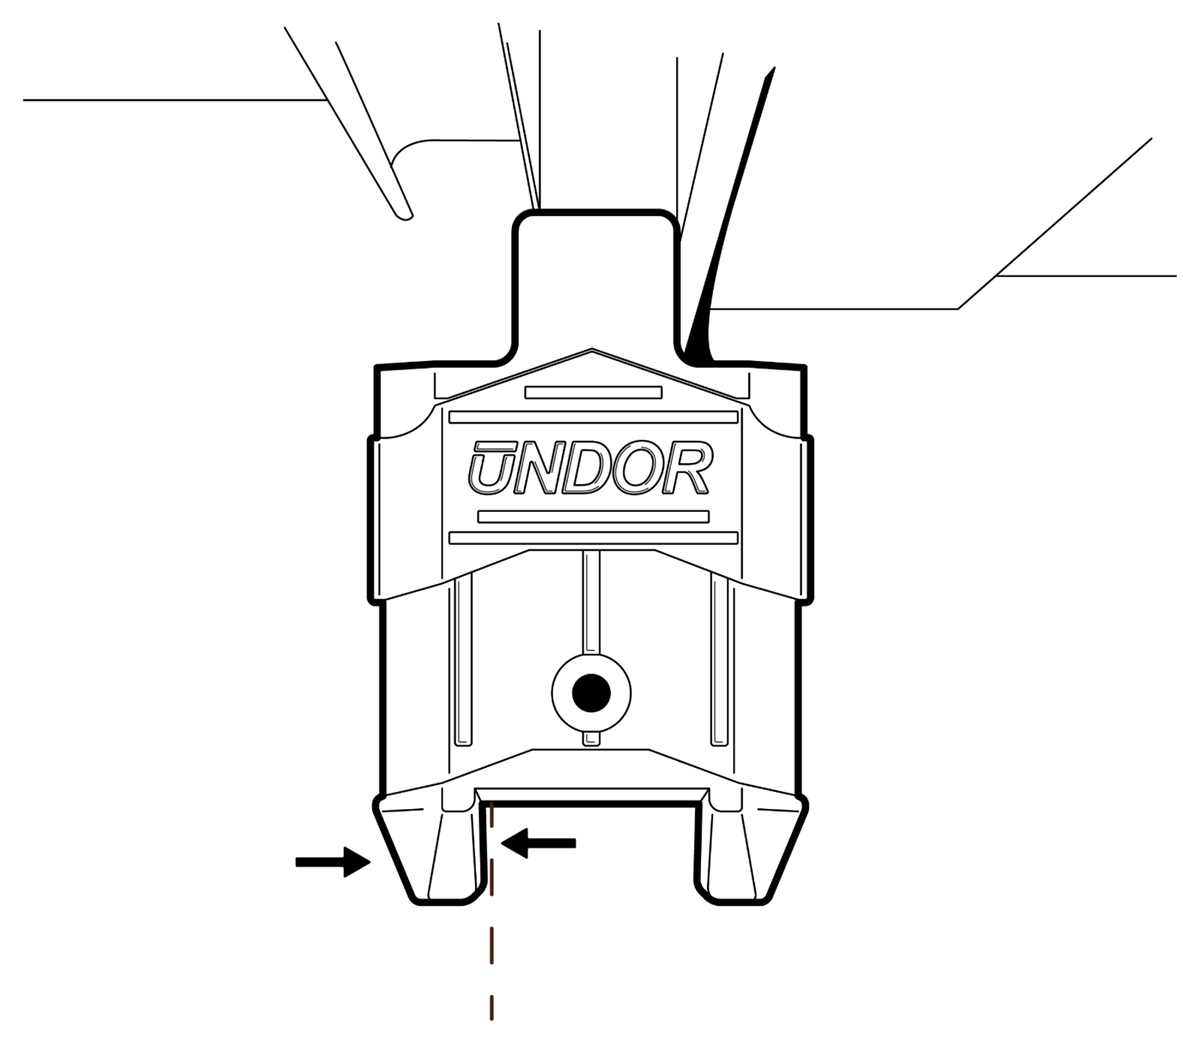
Position the units
Draw a pencil line where the seal meets the floor. Set each unit snug against the side weather stripping, straight, with its back legs in line with the pencil line. Never push it between the door track and frame.
-

Drill the holes
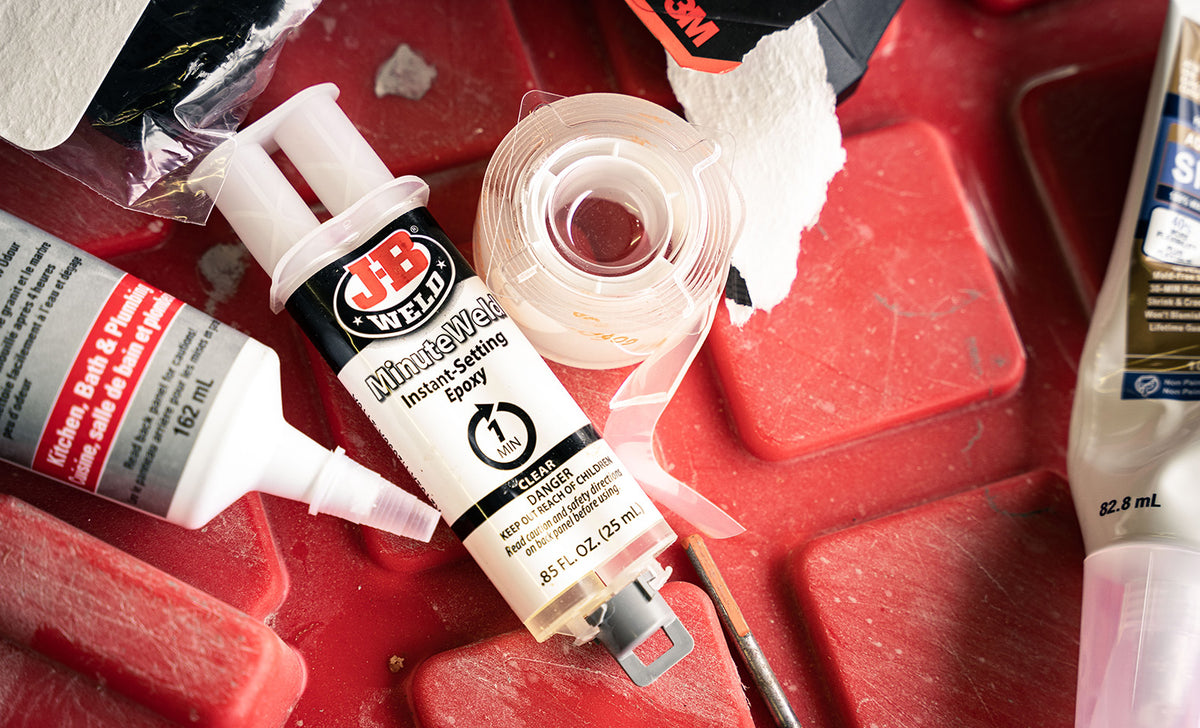
Mark the holes with the unit in place, then move it and drill each hole at least 1½″ deep. Clear the dust and tap in the anchors. Can’t drill? Use the no-drill adhesive method.
-

Fasten, cut and test
Hand-tighten the screws with a screwdriver. Do not use a power tool. Then mark the new seal at the back wall of each unit, cut it with scissors and lower the door. No daylight should show.


$89.99 CAD
- Certified
- Made in Canada
- 1-year warranty
Free shipping in Canada. 1-year warranty. Return policy